Mark an Email as Private
Objective
To mark an email as private so that only users with 'Admin' permissions or those listed on the email can view the email.
Background
Email messages in the project's Emails tool can be set to Public or Private. In addition, if you are a user with 'Admin' level permission to the Emails tool, you also have the ability to define whether all emails are public or private by default. See Configure the Email Tool's Settings.
Things to Consider
Required User Permissions:
To make any email private or public, 'Admin' on the project's Emails tool.
To make an email that you created private or public, 'Standard' on the project's Email tool.
Additional Information:
Public. The email message is visible to any user who has 'Read Only' access permission or higher on the project's Emails tool.
Private. The email message is only visible to email recipients and users with 'Admin' level permission on the project's Emails tool.
Important*If a user with 'Admin' permission on the project's Emails tool has created a 'Default Distribution' list (see Configure Advanced Settings: Emails), members of the default distribution list will receive ALL emails that have either been created in or sent from the Emails tool. Members will also receive all messages sent to the Emails tool via the inbound email address. This includes emails that have been marked 'Private'.
Steps
Choose from the following:
Mark an Email as Private
Mark an Email as Public
Mark an Email as Private
Navigate to the project's Emails tool.
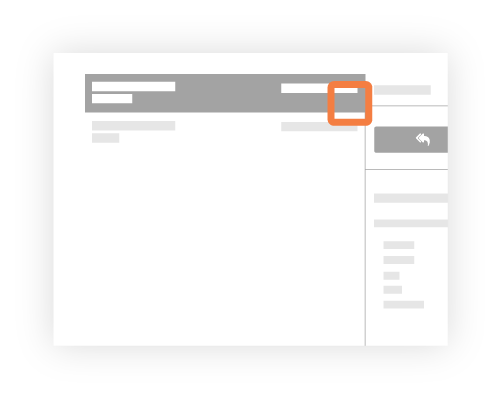
Select the email message you want to make private.
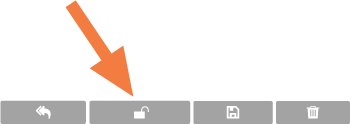
Click Make Private.
Important!If a user with 'Admin' permission on the project's Emails tool has created a 'Default Distribution' list (see Configure Advanced Settings: Emails), members of the default distribution list will receive ALL emails that have either been created in or sent from the Emails tool. Members will also receive all messages sent to the Emails tool via the inbound email address. This includes emails that have been marked 'Private'.

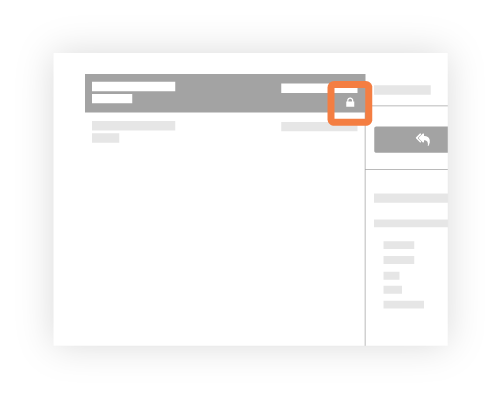
The system applies a lock icon to the message in the left pane of the Emails-Inbox page as shown below.
Mark an Email as Public
Navigate to the project's Emails tool.
Select the email message you want to make public.
Click Make Private.
The system removes the lock icon from the message in the left pane of the Emails-Inbox page as shown below.