Setup Guide
This setup guide will walk you through how to install the Procore for Microsoft Outlook integration and configure it for use.
There are two different sets of steps, depending on your role in your organization:
Outlook Administrator
Install the Procore Application from the Microsoft Marketplace in your Outlook Account for your company.
Approve the integration for your company using one of two methods:
Admin consent workflow
Azure AD workflow
Procore for Outlook User (non-admin)
Activate the integration in your Outlook account.
Consent to the app's permission requirements (Note: If an administrator has provided consent on behalf of your organization, you do NOT need to perform this step.)
Outlook Administrator Steps
Use the following steps to set up Procore for Outlook and deploy it to your organization. You must have administrative access to your Microsoft Office 365 organization in order to complete the installation and setup steps.
 Note
NoteThis procedure describes setup for the cloud-based Office 365 (Outlook.com) product. The steps may differ if you are using the on-premise version of Microsoft Exchange and the desktop version of Outlook. More information can be found in this Microsoft support article.
This procedure describes setup for the cloud-based Office 365 (Outlook.com) product. The steps may differ if you are using the on-premise version of Microsoft Exchange and the desktop version of Outlook. More information can be found in this Microsoft support article.
1. Install the integration from Microsoft AppSource
Open your browser and go to the Microsoft AppSource.
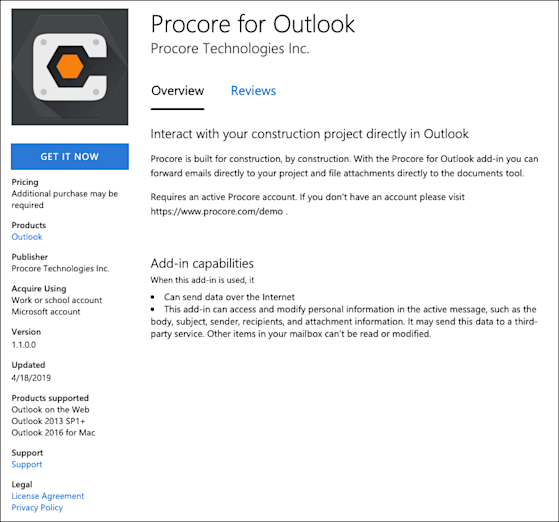
Click Get it Now. You are prompted to sign-in to the Microsoft AppSource,
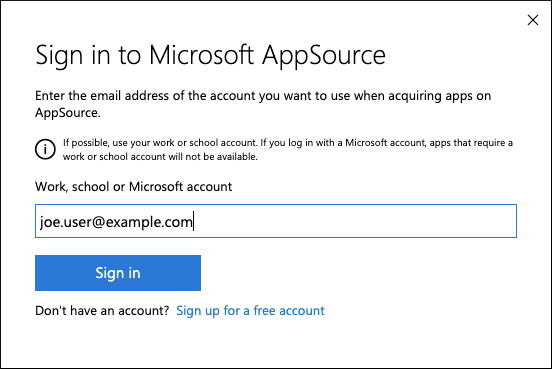
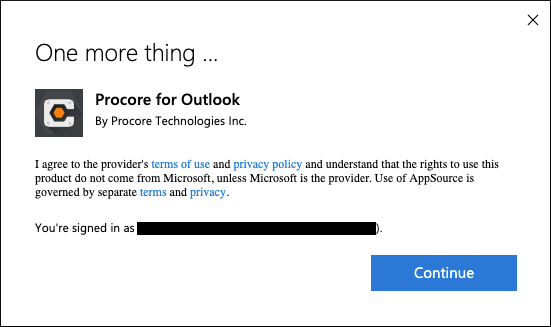
Click Sign in. Agree to the terms of use and privacy policy and click Continue.
Begin the deployment process by clicking Next.

Specify who will have access to the add-in - everyone, specific users/groups, or just you - then click Deploy Now.
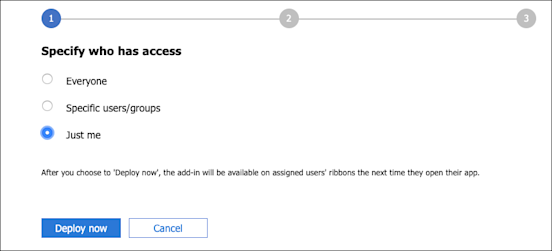
Once the add-in deploys successfully, click Next.
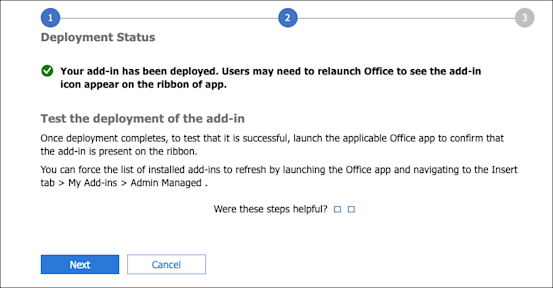
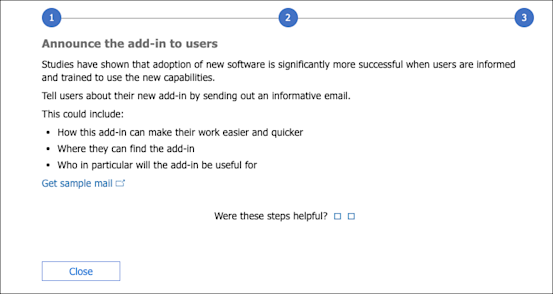
Complete this stage of the deployment by clicking Close.
2. Grant consent to the integration
There are four (4) ways to grant consent to the integration as an administrator to allow it to function:
Grant consent during usage of the integration in Outlook:
An administrator with appropriate roles (like Global Administrator, Cloud Application Administrator, or Application Administrator) can grant consent for the entire organization when they themselves first use the integration.
Log in to Outlook using your Administrator credentials.
Access the Procore for Outlook integration
You are offered consent options for the integration.
Choose the option to approve for the entire organization, usually shown as a checkbox like "Consent on behalf of your organization". This option only appears for users with appropriate admin roles.
Click Accept to consent to the permissions requested for all users in your organization.
When you use this method, no individual users need to consent when accessing the integration.
Grant consent through the Enterprise Applications Portal:
Go to the Microsoft Entra admin center (formerly Azure Active Directory admin center).
Navigate to Identity > Applications > Enterprise applications.
Find and select the Microsoft Outlook Integration.
Go to Permissions.
Click Grant admin consent for procore.com (button language might differ slightly, for example "Grant admin consent").
Review the permissions the integration is requesting.
Click Accept to grant consent.
Grant consent using a Direct Admin Consent URL:
Administrators can use a specific web link to grant tenant-wide consent. An Administrator visits a specific URL format, which includes your organization's Microsoft Entra tenant ID or verified domain and specifies the application's client ID and requested permissions
Sign in with admin credentials.
Review the permission request.
Grant tenant-wide consent.
Note: The specific URL format requires details like the tenant-id and client_id . The tenant-id can usually be found on the home page of the Entra admin center.
URL Format:
https://login.microsoftonline.com/{tenant-id}/v2.0/adminconsent?client_id=3745a70b-3126-48f9-ba78-6491ff1bf925&scope=https://graph.microsoft.com/Files.Read.All https://graph.microsoft.com/Mail.Read https://graph.microsoft.com/User.Read&redirect_uri=https://office-365.procore.com/auth/outlook_procore/callback&state=12345
OR
https://login.microsoftonline.com/{tenant-id}/adminconsent?client_id=3745a70b-3126-48f9-ba78-6491ff1bf925
Responding to Individual User Requests (if enabled)
If the "admin consent workflow" is enabled in Microsoft Entra ID, users who cannot grant consent can request administrator approval.When an end user tries to use the application but doesn't have permission to grant consent, they will see a message like "Need admin approval" or "Approval required" and can request an admin to grant consent on their behalf.
Administrators can then see a list of these pending requests in the Microsoft Entra admin center under Enterprise applications > Admin consent requests.
Administrators can review these individual requests and choose to approve or deny them.
A prompt will appear asking the user to request approval from an admin.
Administrators can view the pending requests and move to accept or reject the request.
Integration User (Non-Admin) Steps
1. Activate the integration in Outlook
Log in to Outlook.
Select an existing email.
In the 'ribbon' of the message, click the ellipsis
 icon to open the 'More actions' menu.

Choose Procore for Outlook.
Note: You must have the Outlook 'Reading Pane' option selected in order for the Procore for Outlook button to be enabled and available.On the 'Welcome' panel, click Sign In.
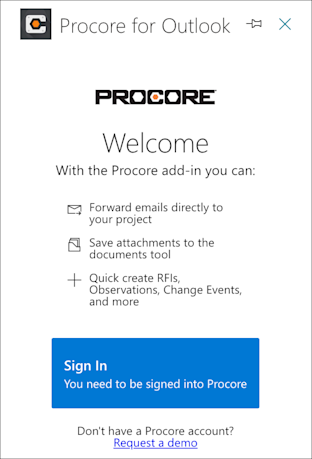
On the Procore login screen, enter your Procore credentials and click Log In.
Review the required permissions and grant consent to the integration. The integration is now ready for use.
Note: Some users' environments might require an admin to approve the activation of the integration. In this case, a window appears that says 'Need admin approval. If the option appears to 'Request approval', select it to send a request to your admin to approve activation. If you do not see that option, reach out to your internal IT team to request they enable the integration for your company.