Add a Response Step
Master the 'Response Step' for precise control over your project workflows. Configure essential general information, define how decisions are made using options like 'First Responder Decides' or 'Multiple Responders Decide,
Steps
Add a Response Step
Navigate to the Workflow Builder.
Use these steps when configuring a workflow step in a new or existing workflow.Under General Information in the Type list, choose: Response Step

Add General Information
Name your workflow in Step Name.
Select Response Step in the Type list.
From the Status list, choose one option: Draft, Under Review, Pending Owner Approval, or Revise and Resubmit.
Under Days to Complete, enter the number of days to complete the item and choose Calendar Days or Business Days from the list.
This defines how many days the 'Responsible Group' has to complete the workflow step. After the specified period, Procore sends daily reminder emails until the step is completed.Under Notification Recipients, choose Workflow Manager, Item Creator, and Distribution Group.
This defines who receives a notification email when items move to this step in the workflow.
Choose a Decision Type & Manage Assignees
Choose one (1) decision type for each response step you create.
First Responder Decides
While this step can have multiple assignees, only a single response is needed to advance the workflow to the next step.
 Example
You want two (2) employees to review the workflow step; the first employee to submit a response determines the outcome of the step. For example, you assign the step to the Project Manager or Assistant Project Manager, and one (1) response advances the workflow to the next step.
You want two (2) employees to review the workflow step; the first employee to submit a response determines the outcome of the step. For example, you assign the step to the Project Manager or Assistant Project Manager, and one (1) response advances the workflow to the next step.
Click here to view the steps.
In the Assignees card, choose First Responder Decides from the Decision Type list.
Click Manage Assignees.
This opens the Assignees panel.
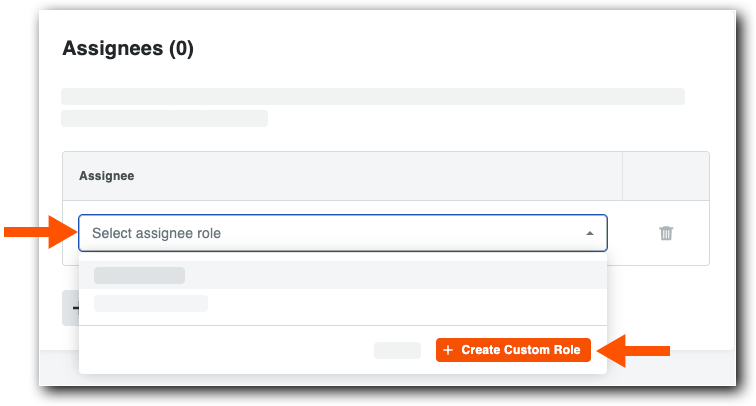
Under Assignees choose one (1) option:
Choose an existing role from the Select Assignee Role list.
Click Create Custom Role, enter a custom role label, and click Save Role. For example, type Project Manager, Assistant Project Manager, or another role. You assign users to roles in the project-level configuration.
In the Assignees panel, click Save.
Multiple Responders Decide
While this step can have multiple assignees, various responses are possible. You can configure which combination of responses advances the workflow to the next step.
ExampleYou want two (2) employees to review the workflow step; both employees must submit a response to determine the outcome of the step. For example, you assign the step to the Project Manager and Assistant Project Manager, and two (2) responses advance the workflow to the next step.
You want two (2) employees to review the workflow step; both employees must submit a response to determine the outcome of the step. For example, you assign the step to the Project Manager and Assistant Project Manager, and two (2) responses advance the workflow to the next step.
Click here to view the steps.
In the Assignees card, choose Multiple Responders Decide from the Decision Type list.
Click Change Decision Type in the message that appears.
(Optional) Choose one (1) option:
Mark the Only Required Responders Decide box. The workflow only advances when all Required assignees respond. This is the system's default setting.
Remove the check mark from the box. The workflow only advances when all assignees respond.
Click Manage Assignees.
This opens the Assignees panel.
In the Assignees list, choose one (1) option:
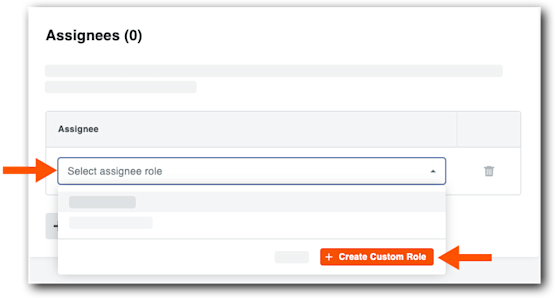
Choose an existing role from the Select Assignee Role list.
Click Create Custom Role, enter a custom role label, and click Save Role. For example, type Project Manager, Assistant Project Manager, or another role. You assign users to roles in the project-level configuration.
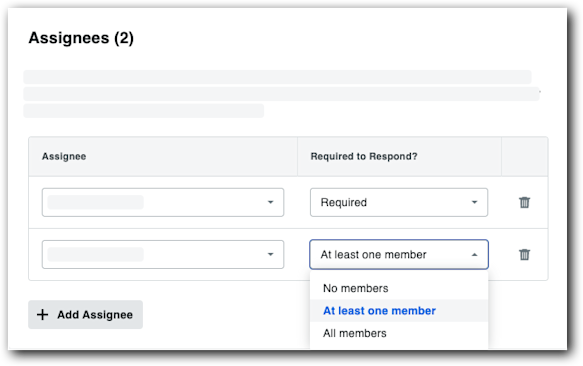
In the Required to Respond list, choose one (1) option:
For roles assigned to individuals on project items:* Required. Requires a response from the assignee.* Not Required. Does not require a response from the assignee.
For role assigned to multiple individuals on project items:* No Member. Does not require a response from any member of the role group.* At Least One Member. Requires a response from at least one member of the role group.* All Members. Requires a response from all members of a role group.
In the Assignees panel, click Save.
Configure Responses
Responses determine how the system advances the workflow to the next step. You can configure the workflow to proceed using a single response or multiple responses.
Click here to view the steps.
Save the Template
In the Response card, choose the desired response from the If Required Responders Decide list. The system's default options are Approve, Reject, and Return. To configure custom responses, see Create and Manage Custom Workflow Responses.
In the Go to Step box, choose the type of step to create:
Response Step
Condition Step
End Step (Successful)
End Step (Unsuccessful)
Enter the Step Name.
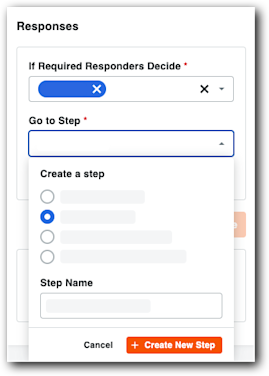
Click Create New Step.
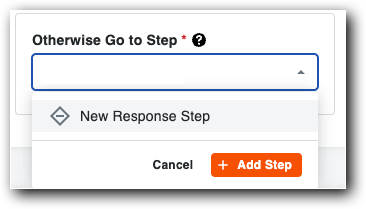
In the Otherwise Go to Step box, choose New Response Step and click Add Step.
In the Create a Step box, choose the type of step to create.
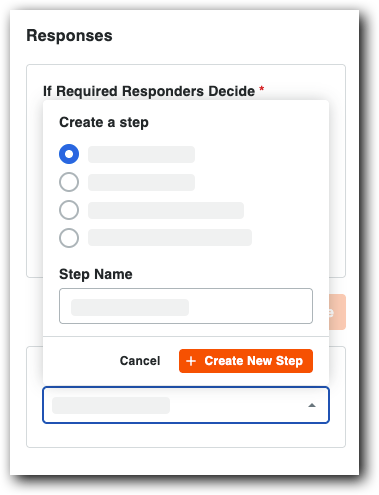
Enter the Step Name.
Click Create New Step.