Assign Workflow Templates to Projects
Once your workflows are published, the next step is to assign them to a project so they can be configured. The following steps will show you how to assign workflow templates to projects in the company Workflows tool.
Navigate to the Company Workflows tool.
In the 'Workflows' table, locate the version that you want to publish.
Click the hyperlink in the 'Assigned Projects' column.

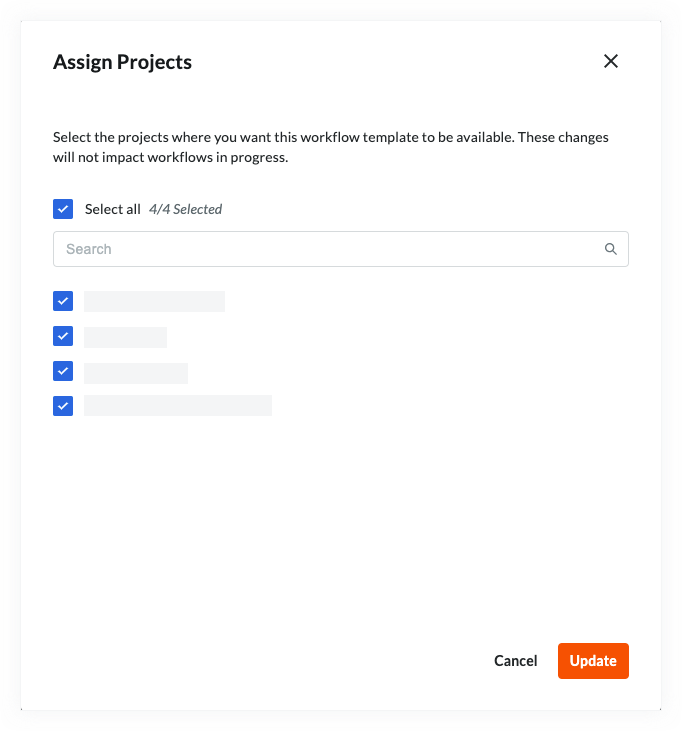
In the 'Assign Projects' dialog box, do the following:
To select all of the active projects in your company's account, place a mark in the Select All check box.
To search for individual projects, start typing the project name in the Search box. Then place a mark in the checkbox(es) that corresponds to the desired project(s).
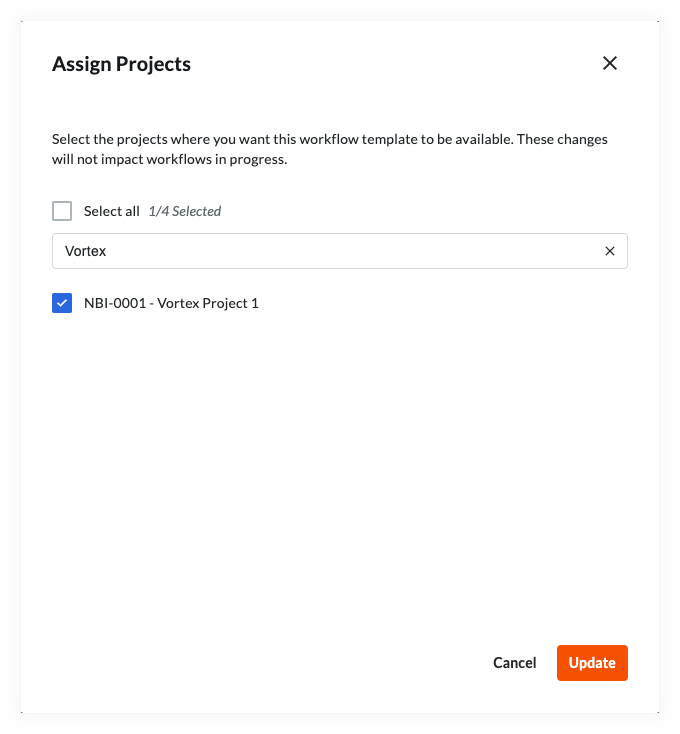
Click Update.
Assign a Workflow Template to New Projects
A workflow template can be assigned automatically to all new projects so it won't need to be done each time a new project is created.
Navigate to the Company Workflows tool.
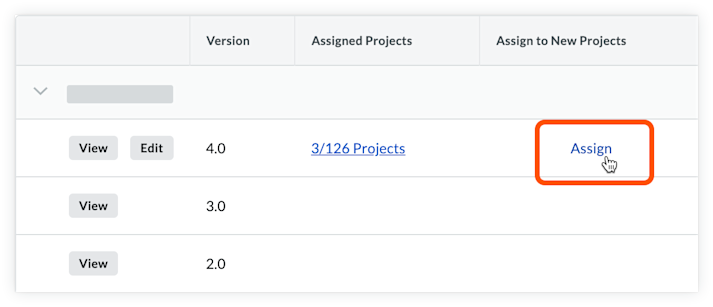
In the 'Workflows' table, locate the version that you want to assign to all new projects.
Hover over the space in the 'Assign to New Projects' column.
Click Assign.
A checkmark will appear showing that it has been assigned to all new projects.
Note: Click the checkmark to stop assigning the template to new projects automatically.