Add Requirements
Navigate to the Company level Admin tool.
Under Tool Settings, click Contracts.
Click Compliance Templates.
Locate the template to update and choose one of these options:
Manage. Click this button to open the template.
ORTemplate Name. Click this button to open the template.
In the General tab, scroll to the Required Compliance Documents card, click Add Requirement.
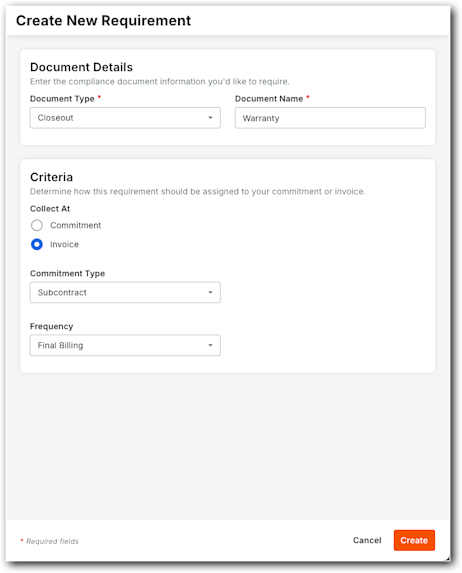
This opens the Create New Requirement window.In the Document Details card, do the following:
Document Type. Choose an option from the list: Bond, Closeout, License, Master Agreement, Other, Payroll, Permit, Project Insurance, Safety, Stored Material, or W-9.
Document Name. Type a name for the document.
In the Criteria card, choose the Collect At requirement to determine if Procore Pay tracks the requirement:
Commitment. Assign this to a Purchase Order, Subcontract, or both Subcontract & Purchase Order. To get email alerts for upcoming or past document expirations, mark the checkbox.
ORInvoice. Choose the commitment type. Then, set the billing cycle: First Billing, Every Progress Billing, or Final Billing.
 Example
This example requires a warranty for the subcontractor's final bill.
Click Create.
Repeat these steps to add more requirement documents to the template.